A great craft idea for you and your kiddos!
I saw this idea on the Today show yesterday morning. I can't believe I have already completed it; it must have struck a cord with my inner creative side! That, and both boys have both napped well for two days straight!! Can I get a YAHOOOOO!
Here is how to make:
Step 1.
Take your kiddos to the park (or your backyard if you have lots of trees, like we do) and gather as many fallen branches as you can find. These should be about 12-24 inches in length with lots of arms! Clean off any dead leaves still attached.
Step 2.
Take the branches you collected home and arrange them how you see fit in a glass vase. I used an old floral arrangement vase. You probably have one of these stuffed in a closet like I did from back when you and your hubby were 'dating'!
Step 3.
Head out to Hobby Lobby or your favorite craft store! (I need a bumper sticker that says, "I <3 Hobby Lobby!") Purchase these 3 items.
- 1 sheet of large square craft paper
- Butterflies from the spring collection (at Hobby Lobby) in colors of choice
- Easter Eggs (I purchased wooden ones. You can get the plastic kind too and simply hot glue ribbon to the top to tie to the branches, either way works well!)
Step 4.
Take out the branches. Put the craft paper inside the vase to cover each side. Cut off any paper that is too tall. Place the branches back in the vase. Arrange branches as needed.
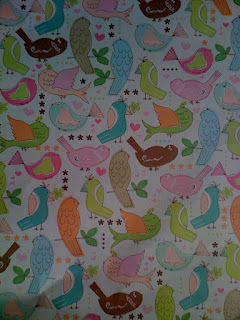
This is the paper I purchased from Hobby Lobby. I purchased a whimsical bird pattern.
Step 5.
With your kiddos, tie the butterflies on the branches where you see fit!
This is the package of butterflies I purchased from Hobby Lobby. I purchased Pink, Teal, Lime Green, Purple and Yellow packages. These came on a string, so I cut to make individual butterfly pieces. 5 in total each.
Step 6.
With your kiddos, hang the eggs on the branches where you see fit!
These are the eggs I purchased from Hobby Lobby. I purchased a pink, blue and yellow egg.


So cute Jenn!!! Love it!! I think may actually try this one :)
ReplyDeleteYOU ROCK!!!
Very cute!!
ReplyDeleteThis is super cute! I have some beautiful real (hallow) Easter eggs that would look beautiful on something like this! I may have to give it a try!
ReplyDeleteHere is the link to a blog post I did today inspired by this arrangement, http://glorioustreats.blogspot.com/2010/03/decorating-for-spring.html
ReplyDeleteHave a happy day!
Glory